Your time as a business owner is valuable. Don’t waste any of it doing duplicate data entry.
Accounting takes time. And the last thing you need when you’re working with your company’s finances is activity that takes unnecessary minutes. If you’ve created a record or transaction once, you don’t want to have to enter the information a second or third time.
That’s why using QuickBooks Online is so far superior to manual accounting. It remembers everything, so you can use data again when you need it. But sometimes you have to give it a little guidance.
That’s the case with recurring transactions. If you have forms that you create repeatedly, with very few changes (like utility bills), you can “memorize” the transactions. When the bill comes around the next month, you can modify any details necessary and dispatch it again. Here’s how it works.
Three Options
To get started, enter a transaction that you want to save and be able to use again (with changes). Let’s say it’s an invoice that you send to a customer once a month who has a service contract for network maintenance. When you’ve completed the form, look toward the bottom of the screen and click Make recurring. The screen will now read Recurring Invoice, with new content as pictured below.

You can specify transactions as recurring and add details like frequency and start/end dates.
If you want to change the Template name to something that will remind you of its purpose, you can do so. In the field beneath Interval, select Daily, Weekly, Monthly, or Yearly, and then indicate what day of the month the transaction should occur. Enter a Start date and End [date] or select None if the length of service is open-ended. In example above, you would receive a reminder from QuickBooks Online three days before the invoice is scheduled to go out. The service contract has no ending date, so you’d continue to get reminders until you change the template.
Next to the Template name is a field labeled Type. QuickBooks Online gives you three options for taking action on the recurring transaction. It can be:
- Scheduled. This is an automated option that should be used with caution. If you select this, your transaction will go out as scheduled with no intervention from you. Only the date will change.
- Reminder. QuickBooks Online will send you a reminder ahead of the scheduled date. You can specify how many days ahead you should receive it. Then it’s up to you to make any necessary changes and send it out.
- Unscheduled. QuickBooks Online will do nothing except save your template.
When you’ve completed all of the required fields, click Save template in the lower left.
Using Recurring Transactions
If you’ve chosen the Scheduled option for any transactions, you don’t have to do anything more with it until you want to change its content or status. To find your list of recurring transactions so you can process any that are you earmarked as Reminder or Unscheduled, click the gear icon in the upper right of the QuickBooks Online screen. Under Lists, click Recurring transactions.

The Recurring Transactions table
The screen that opens displays a table containing all of your recurring transactions. You can learn just about everything you need to know about those transactions here: Template Name, Type, Txn (Transaction) Type, Interval, Previous Date, Next Date, Customer/Vendor, and Amount.
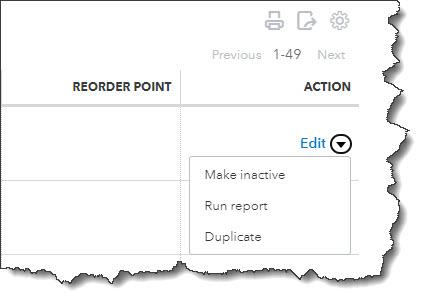
The last column in the table, labeled Action, opens a menu that displays different options depending on the type of transaction. For our Reminder example, you can:
- Edit (edit the template, not the transaction)
- Use (opens the original transaction that you can edit, save, and send)
- Duplicate (duplicate the template)
- Pause (stop sending reminders temporarily)
- Skip next date
- Delete
Looking Ahead
We’re a month into 2023 now. What does this year look like for you? Is QuickBooks Online doing everything you need it to do? If you’re starting to outgrow your version, we’d be happy to consult with you about upgrading to another service level (Essentials, Plus, or Advanced). Or if you know the version you’re using is supposed to do something you need but you can’t quite figure it out, let us know. We want 2023 to be a good year for you, and we’d like to make your accounting work as painless and productive as possible.
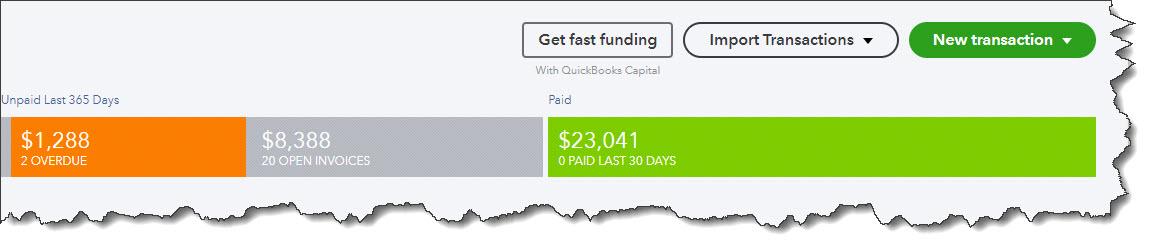
 You can customize and run QuickBooks Online’s Sales reports.