One way to keep your company’s cash flow positive is by sending email reminders to overdue customers. QuickBooks® Online can automate this.
Most small businesses struggle with cash flow. How do you get customers to pay by the due date, or at least not long after? We’ve written about some of the possible solutions. Accept credit/debit cards and direct bank payments. Send statements regularly. Offer a discount for early payment if it makes financial sense for you.
QuickBooks Online offers another tool for accelerating incoming payments: automated reminders. If you set these up, you won’t have to spend so much time keeping up with past-due remittances. It’s easy to do, and you can personalize your messages. You can even do this manually if you come across an individual customer who needs a nudge.
What about reminders for yourself? QuickBooks Online doesn’t come with a to-do list that you can use to enter tasks that must be done. But there are still ways to tie a digital string around your finger so you don’t fall behind on your own critical chores.
If you feel like you’re being too intrusive by sending out payment reminders, think about how you feel when you receive one yourself. Often, a financial obligation has simply slipped your attention. You want to maintain a good working relationship with your vendors, so you might even welcome such an email or letter.
Setting Up the Automation
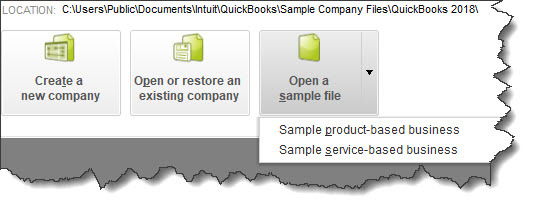
To get started, click the gear icon in the upper right corner. Under Your Company, click on Account and Settings. Click the Sales tab and scroll down to Reminders. Click the pencil icon way over to the right to open the options here, then click the on/off button next to Automatic invoice reminders to activate them. Click the down arrow next to Default email message for invoice reminders to open the template.
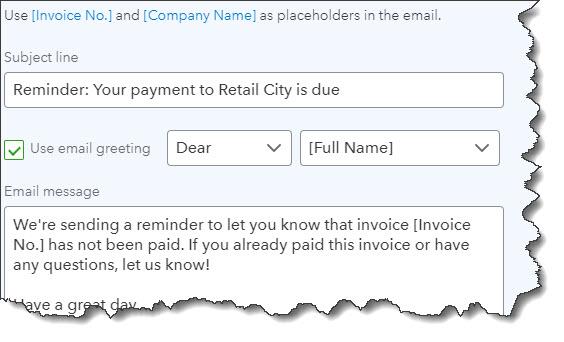
QuickBooks Online includes email templates for late payment reminders that you can edit.
If you’ve ever done a mail merge, this will look familiar to you. QuickBooks Online replaces the text in [brackets] with data from your company file. So it will prepare an email for every customer that is past due and replace the bracketed content with your own customer and company names and invoice numbers. Of course, you can choose not to personalize the emails, but it’s likely to be more effective if you do. Everything in the template can be edited, and you can check a box to have a copy sent to you.
Below this email template are three reminder-scheduling blocks. Click the button next to Reminder 1 to turn it on. You’ll see that you can set up a reminder to go out to customers either on the due date or a specified number of days (3, 7, 14, 30, or 90) before or after.
QuickBooks Online checks the due dates for your invoices and will automatically send the email reminder out to everyone who meets the criteria. If a customer record has an email address in it, a reminder will be dispatched even if you didn’t send the original invoice through email.

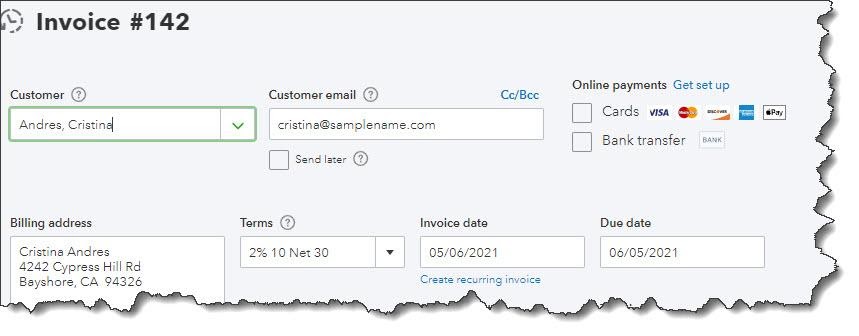
You can schedule automatic invoice reminders to every customer who meets the criteria you’ve specified.
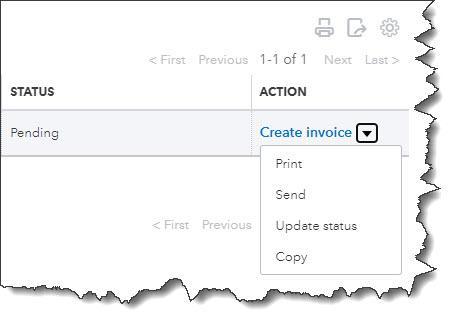
To set up additional, different reminders, you can do so in the Reminder 2 and Reminder 3 blocks. When you’ve finished, click Save. You can always go back in and edit these. To see who received reminders, click on Sales in the left vertical toolbar, then Invoices. The word Reminded should appear in the Status column.
If you’d rather dispatch reminder emails manually, you can do so in QuickBooks Online. With the same Sales | Invoices screen open, click on the down arrow next to Receive payment at the end of the row and select Send reminder. If you want to send reminders to multiple customers, click the box in front of each name to create a checkmark. Click the down arrow next to Batch actions right above the table and select Send reminder.
Reminding Yourself
We wish that QuickBooks Online had a reminder feature like QuickBooks Desktop does, that greets you every time you launch the software and displays tasks that need to be done. But there are still ways to remind yourself that invoice and bill payments are running late. You just have to make a habit of checking certain data screens regularly. For example, you should be visiting:
- The Business Overview element of the home page. There’s an Income graph that shows you how much money is tied up in overdue invoices (and open invoices).
- The Invoices and All Sales screens that you can see by clicking on Sales in the left vertical toolbar.
- Reports, like Accounts receivable aging detail, Open Invoices, Unbilled charges, and Unbilled time.
If you just started using QuickBooks Online this year and are struggling with it, we’re available to set up training sessions and answer questions. And, of course, we’re always here for longtime users, too. The COVID-19 pandemic is still affecting a lot of small businesses, and we understand you may be facing difficult issues. If we can help you better use QuickBooks Online to manage your finances, please contact us.